Zibuu
Gourmet Life
This is the first step to get your add-on up and running with functional textures from the original mod, these instructions basically apply for all of my other add-ons that don't include any textures, however there are some steps that are unique for each and every add-on so be carefull and don't mess it up you silly
Downloading the mods
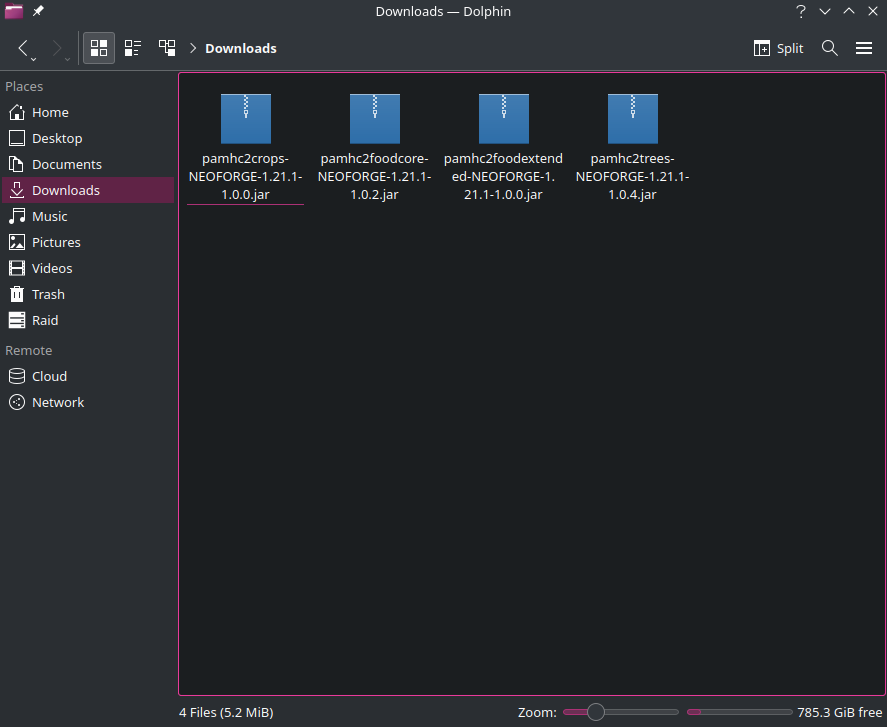
First we need to download all the mods from the original source, here's a list of the mods and their download links:
Extracting the assets
Now that you have succesfully downloaded the mods you need to decompress the JAR file using any tool such as WinRAR, Unzip, 7zip or similar software. You'll end up with something like this
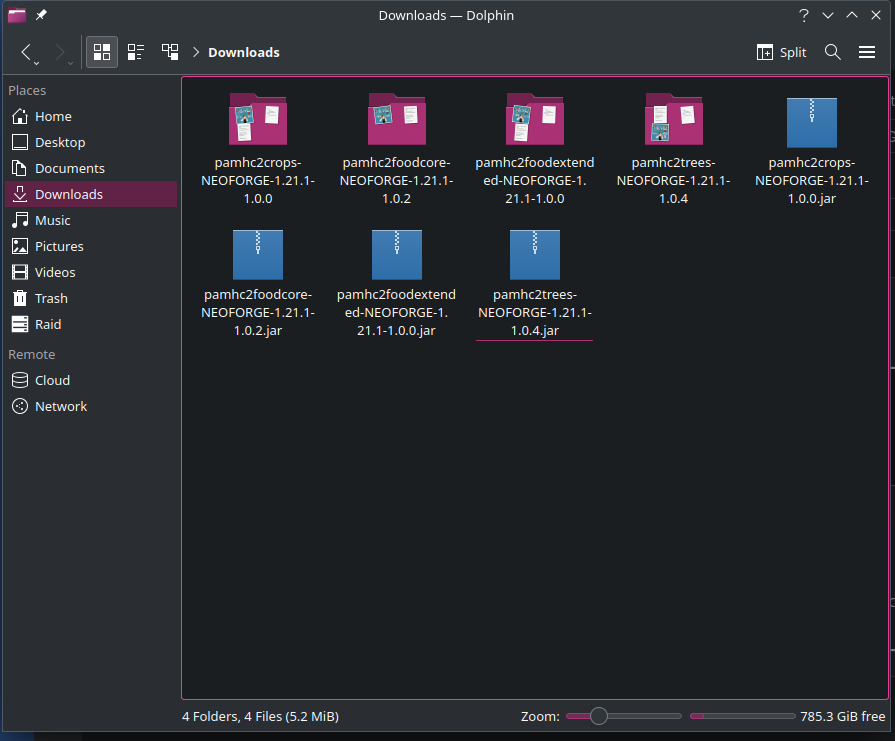
As you can see, now there is one folder for each mod and each folder contains separate textures and assets that we will use later.
Locating the correct folders
Now each mods has the same folder structure, so this step is for all four mods to locate the correct assets folder, we'll go into the mods folder, then the assets folder, and then once again inside the only folder inthere (named after the mod)
For example, for the crops mod, the location will be: modName/assets/modNamehc2crops/
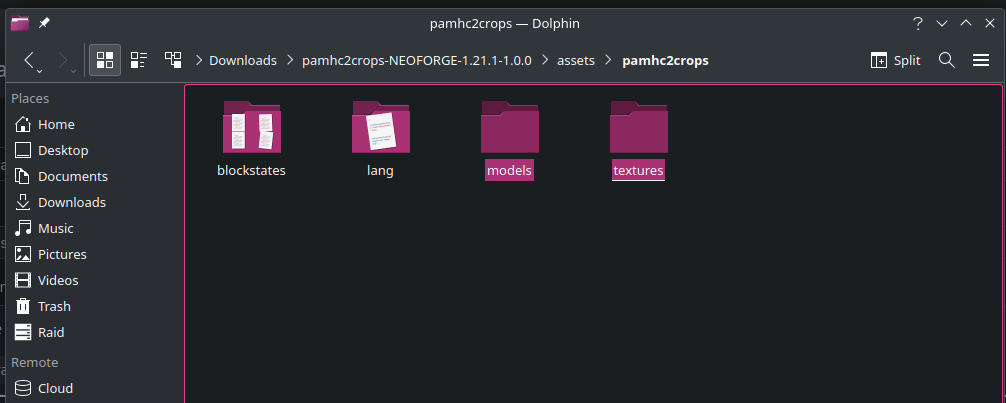
Inside we will find many folders, however we only need TWO specific folders, models and textures. So forget about the other folders in there, just copy those two folders and save them on a different folder
Move the assets to ItemsAdder
Once you have succesfully saved all of the textures and models folders from every single mod, now is time to move them into our ItemsAdder folder for our resources to work, heres a sample folder structure of the ItemsAdder
plugins/
└── ItemsAdder/
└── contents/
└── _iainternal/
└── zibuu/
└── configs/
└── resourcepacks/
└── zcrops/
│ └── models/
│ └── textures/
└── zfood/
│ └── models/
│ └── textures/
└── ztrees/
│ └── models/
│ └── textures/
Now, this may sound difficult but it's easy as pie, you have to move every models and textures folder from the mod into their correspoinding folder for ItemsAdder,
- Food Extended and Food Core assets goes into "zfood"
- Trees assets goes into "ztrees"
- Crops assets goes into "zcrops"
Congrats, you have succesfully extracted and moved the original textures into your ItemsAdder add-on, however you still have to do one more thing to make it functional. I'll explain this on the next post.
After you've succesfully extracted all of the resources (texturs and .json files) you have to edit all of the .json files and replace some silly text to another silly text in order for this to work, this is done to avoid copyfuck stuffs and i wish i could skip this step but you know, mod makers being silly :3
This is done very easy and fast if you use Visual Studio Code so if you don't have it installed, now is time.
Downloading Visual Studio Code
To make thins easy, we have to download Visual Sutudio Code, in case you don't have it you can download it from the official website, click here to visit the officla website.
Workspace
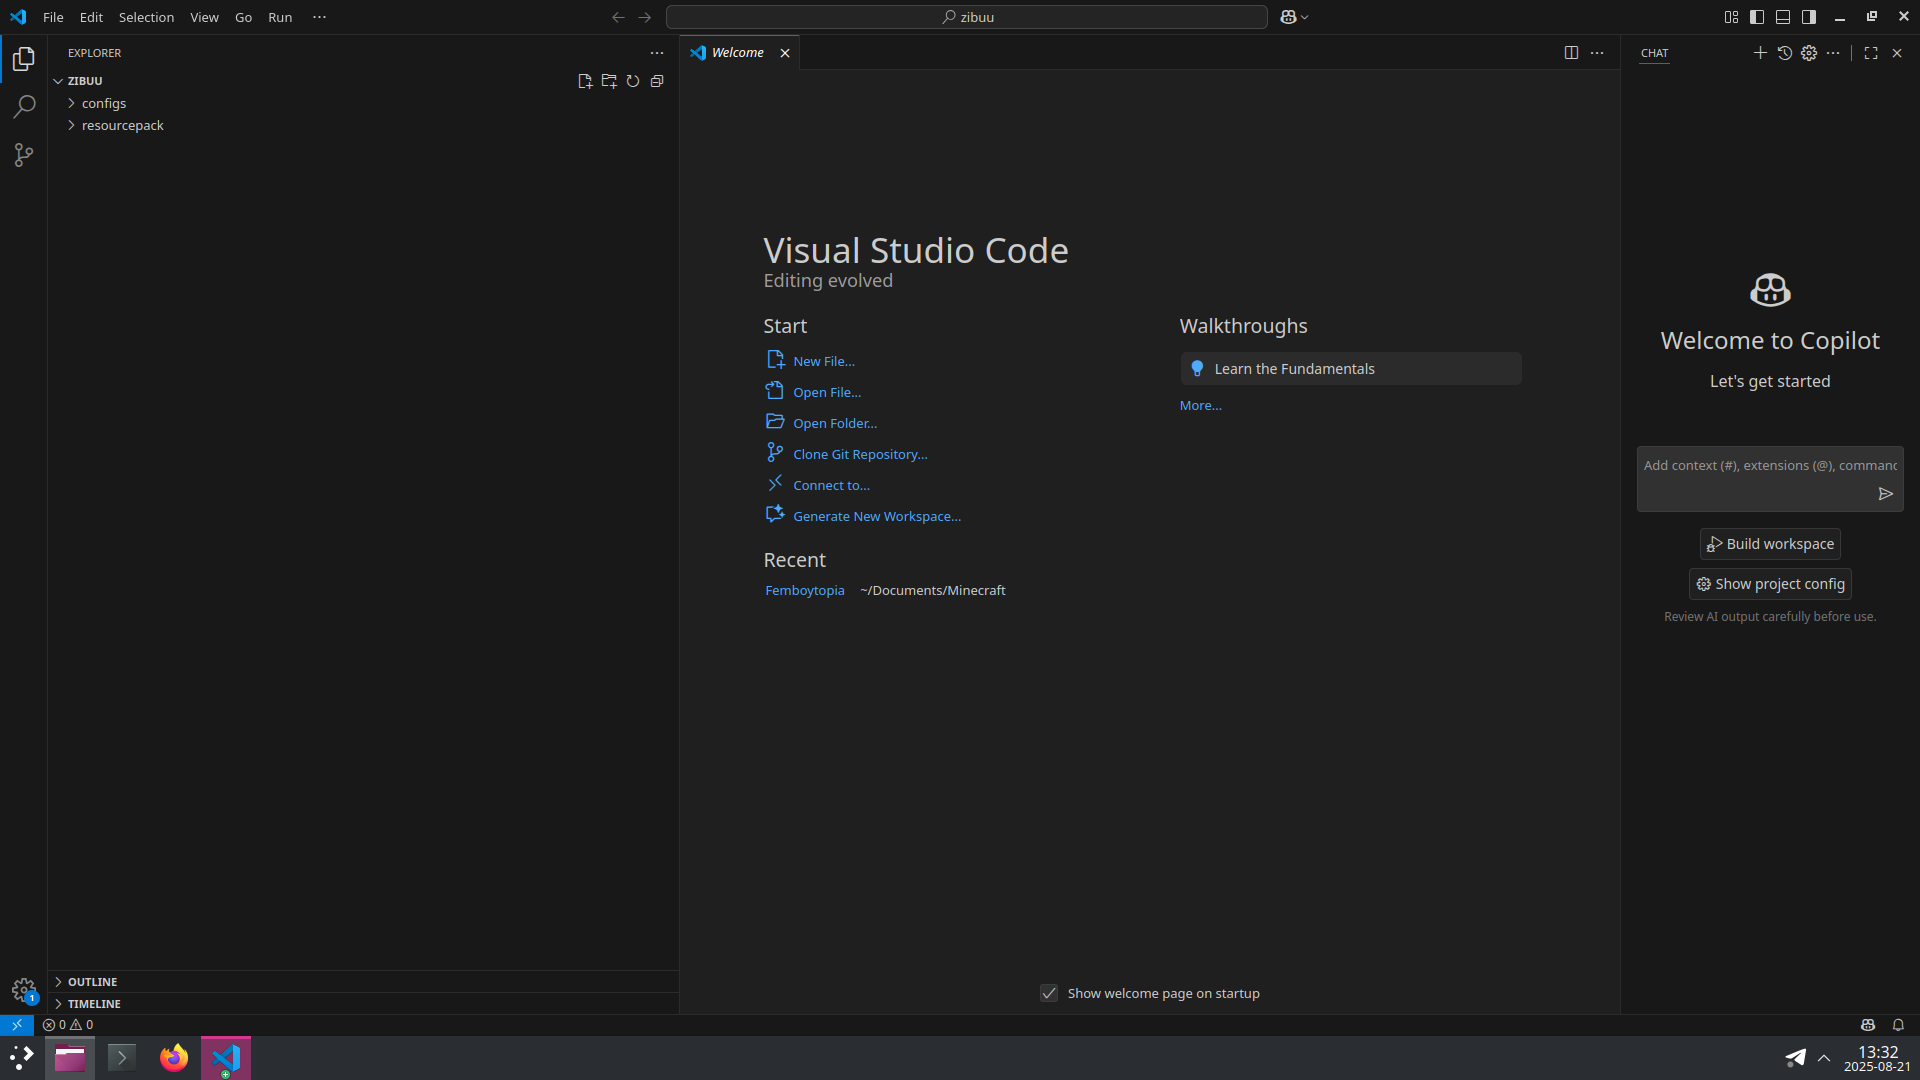
After downloading and installing Visual Studio Code, we have to move the entire plugins/Itemsadder/contents/zibuu folder into the VSCode Workspace. You'll end up with something similar to this.
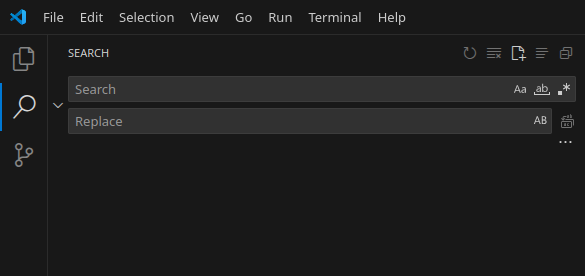
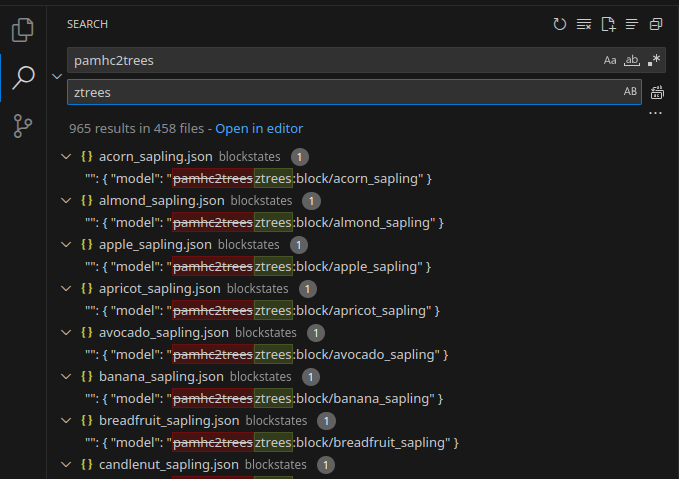
After moving the folder, locate the search icon from the left sidebar and clic on it. You'll see something like this now
TIP: You have to press CTRL + ALT + ENTER to replace ALL matches with your query so you don't have to do it one by one.
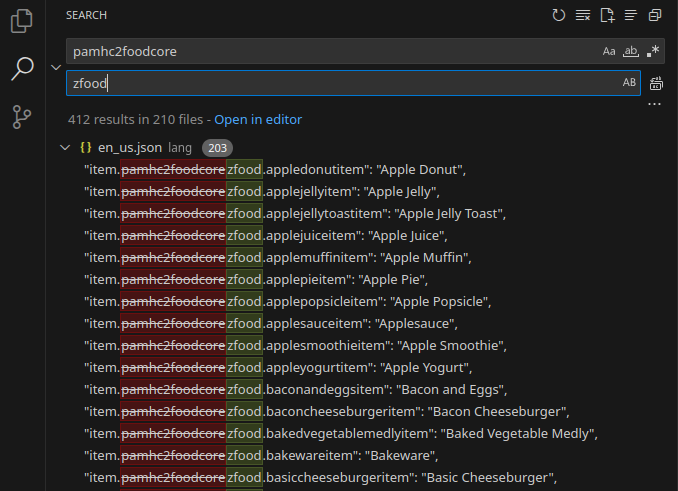
Now we have to manually search and replace one string for every mod, this is very easy and fast with VSCode, don't worry :3
- Search for: pamhc2foodcore
- Replace it with: zfood
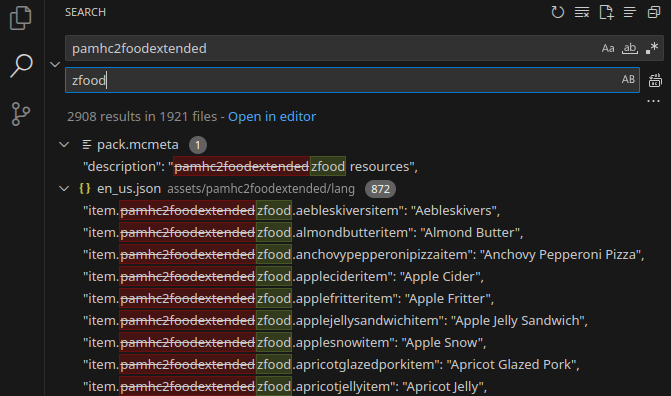
- Search for: pamhc2foodextended
- Replace it with: zfood
- Search for: pamhc2crops
- Replace it with: zcrops

- Search for: pamhc2trees
- Replace it with: ztrees
Once finished, you're done and ready to generate your new fabulous resource pack and use all of those foods with ItemsAdder <3
After extracting the assets and renaming the original namespaced to the ones using by this add-on, you're now ready to generate and use your next gourmet life foods, crops, trees, fruits and vegetables so you can have a yummy breakfast everyday served by your femboy maid on minecraft :3
Generating resourcepack
After completing all of the steps you now have to use the /iazip command to generate a new resourcepack with the new items added to it. Congrats, you're fucking done